Thursday, March 17, 2011

Printer tray and a purse, but first.........


http://yatiechomeyl.blogspot.com/2011/03/lesson-learnt-from-japanese-people.html


I just love these printer trays from 7 Gypsies. They are such a cool way to display trinkets, treasures and photos. It's also a good way to use up some of the myriads of supplies under my stairs. It was nice to finally have a use for frames from my Stampin' Up hodge podge kits.


The stickpin and compass are from some of my father's keepsakes.  The buttons and key are from my Grandmother's button box. (My mini treasure trunk)

The next one I'm going to do is a sewing themed one.

On to the sewing portion.........

This is a Matilda bag made from a pattern from Indygo Junction. I made it for my trip next week. (Finally taking the kidlets to Disneyland). It goes with my cream raincoat (yep, it's supposed to rain) better than my black winter coat and snow that's for sure!

Do you recognize the fabric?


I have lined it with a brown taffeta. I bought it at a very good price (cheap, I'm so cheap) and so I got quite a bit. You will probably see a few projects made with this.

There are two inside pockets. One divided with a flap and a velcro closure.
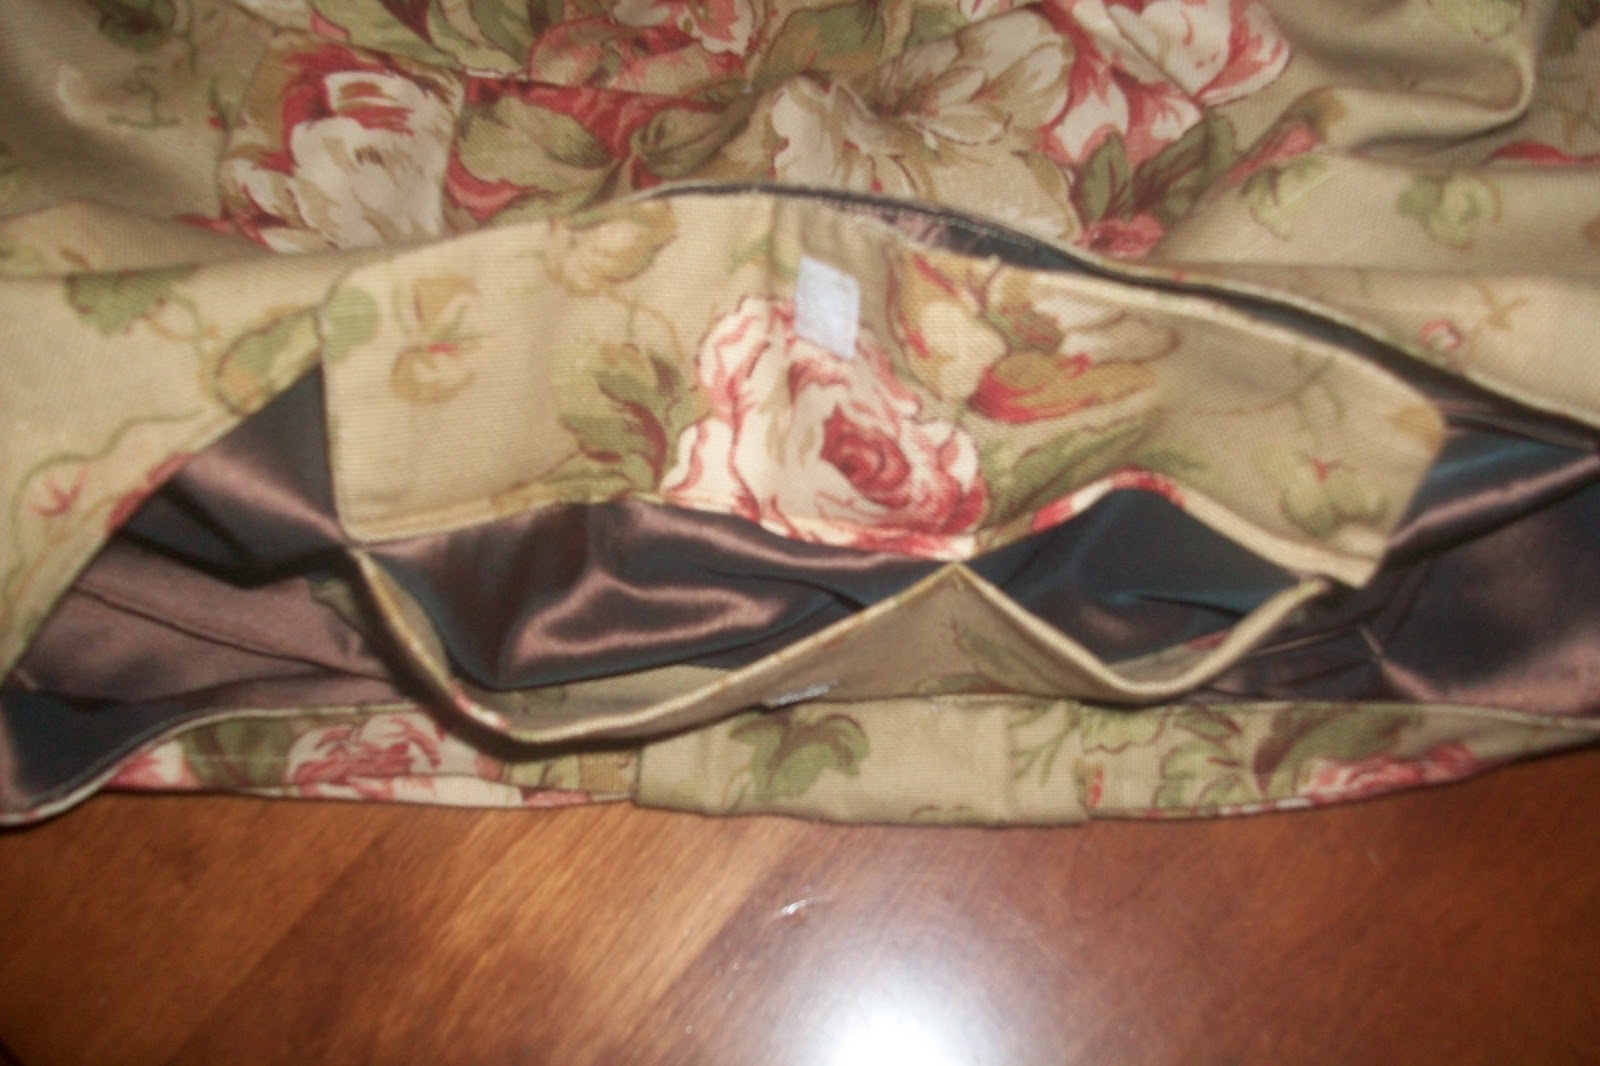

One that is just a plain pocket.


I like the pleating at the bottom. (Kind of hard to see)


and the pleats on the handles

This purse is really easy to make. The more you make the easier and quicker they are.  This is the second one of this style I have made.  The first was for a women's event that my friend Erin held last fall. It was a donation to the door prize portion of the event. Maybe she'll let me make another one for this year.

I did make a few modifications. The pattern calls for the front and back to be in four pieces with a center seam, which is good if you want to use two contrasting fabrics. I did not want to break up the pattern so I cut the back and front on the fold resulting in only two pieces.

As good as my machine (the old doll) is on thick fabrics, it still wouldn't stitch through all the layers for the handle cover. So I ended up hand stitching the cover on.


I did use interfacing to stiffen the bottom up a bit, but I think the next one I make I will use a piece of foam core and have a solid bottom and see how I like it.  I would also like to try using a layer of fusible fleece in between the layers of fabric and give a bit more substance.


That's all for now.

Peace.

Wednesday, March 9, 2011

Bedroom Refresh and what I made with the leftovers........

I wish that I had taken a before pic of my bedroom. It was very blah, take my word for it. My windows are so weird. Wide, short and high on the wall, I had put curtains that I had made that went only to the top of the headboard ( it must have another name if it's made of metal) on my "Atomic Betty" bed. They went on a rod that went across the full width of the window. I wasn't sure what to do, and I probably still don't, but I liked this treatment a lot better.

I always wanted to incorporate blue into my room and thankfully the childhood mantra of "blue and green should never be seen" doesn't hold a lot of water anymore. That's good considering my walls are green.

I made drapes and put them on shorter rods with matching wooden hold backs. The drapes are a blue/green gold shimmery fabric, with a microfibre topper and, my favorite, moss fringe.


With the same fabric and fringe I made a rectangular pillow.


Using a tutorial I found at Mama Says Sew for folded fabric flowers I was able to make two roses pillows. This lady is so inspirational thanks sew much!


For two button pillows I used a mixture of vintage buttons from my grandmothers button box and a few Tim Holtz buttons. I should have sewn the buttons further to the side, they appear to be straining like someone wearing an ill-fitting blouse. I will be correcting at some point.


I made a coverlet out of a larger piece of the button pillow fabric and some heavy damask sewn together with strips of the light blue faux silk used on the rose pillows. The lace was expensive filet crochet that I only purchase enough to do the coverlet. Mostly all the fabric I buy is bargain, but sometimes I will splurge on trims.


The comforter, bedskirt, pillow shams and two center pillows were purchased at a very reduced price at Superstore. The colors in the set are what started the whole ball rolling. I will very likely be making a new duvet cover and shams soon.


The overall effect is a refreshing change from what it was. Someday maybe I will get some pretty new furniture.

After all the pillows and drapes that I have made for living room, dining room and bedroom, I had a lot of scraps! I needed to make something with them.

I have had this old flour sack quilt of my grandmothers for about 20 years now. I had a very plain sheer cover on it held in place with buttons from her button box. I decided it needed a new cover.


This quilt is so neat. It is over 80 years old and you can still see the labels on the sacks. It has held up amazingly well.


I was inspired by a quilt in this book.


So I made my own layout and started sewing.


I did not want to actually stitch on the quilt, so it is just placed inside. It's very weighty, I tacked it with embroidery thread at many junction points.

.......and this is what it looks like.


I do not have it covering my couch normally, that's just for the picture, it is just folded up and draped over the arm of the couch waiting for someone to cuddle up under.

Thank you Grandma Meyers!

Tuesday, March 8, 2011

Brrrrrrrrr........

It is March 8 and it is still -22 (-8C)! There is no melt down in site in the near future. This is what it looks like out my front window today.


At least it's sunny. And that's all I'm gonna say about that.

The next sewing project that I wanted to do, trying to inspire spring into my dark little house, was to recover my pillows in the living room. I have decided that I can have whatever style I love in my house. I will not quell my preferences just because I live in a little 60's ranch style bungalow. As much as I love Amy Butler fabric and cool, crisp,clean lines, I am a vintage and ruffle lover! These are the before pics.


These are the after pics.


I have made all the pillow covers with an envelope back. These are easy to do and quick. They just slip on over the existing pillows.


I love the damask green fabric and the brown floral.


As I mentioned before, I love trims. The pre-pleated, plaid trim was only $2.50/metre at Fabricland. The red and green fringe was 80% off.


Flowers are good.


In the stamping department.........

I started making a desktop calendar for the year and I am almost done. I really did start in December and I have been able to enjoy January and February. Now it's March and I must get the rest of the calendar done.


Hopefully I will get the rest of the calendar done tonight.

Until later, have a productive day and may it be Spring where you are!

Monday, March 7, 2011

Finally......

Way too busy creating and getting through day to day life! Finally I have taken pics of all the stuff that I have been busy doing.

Just for today though I will start off with the new curtains that I made for my living room and dining room.


When I started sewing home decor for children's room designer, I was making over the top curtains and other luscious things. I got turned onto trim and having things lined. Lining makes such a big difference in how they hang and look.


I love the fabric in my dining room curtains. This fabric is what inspired me to get it into gear and just do it!

The pics are hard to see, sorry about that. My camera is not the best and I have such a dark house. I love the shabby chic, vintage look where everything is in shades of white, but with my four kids, it's easier to camouflage the dirt with darker, earthy tones than it is to wash it


Now for some cards...........

These were cards made with products from the new Stampin' Up Spring Mini. They are starting to really get into the vintage look and have lots of beautiful items to choose from.


This card was done at the last Stamper's Nine that I attend on a monthly basis. Thank you Jodi Bourque, you are always an inspiration to my self and others!


These were done using a tutorial from Sandi Maciver. She does so many wonderful projects! This is a faux silk technique and lots if gee gaws from the mini. Loving the little beveled acrylic blocks.


This is a desktop calendar that she has created. Super easy and the little calendars can be found at a nifty little place called SkyBluePink. They have a lot of really neat stuff there. Shredded money, old watch parts and Melissa Francis keyholes (yummy little things that I will show you things I've done with later!)


That's all for today! Hopefully my next post will be sooner than later!

Sunday, January 16, 2011

Maybe a new layout will inspire me...........

Still working out the layout but I thought it was pretty. I have been busy sewing for a living and will try to post pictures of everything I've been working on lately.

Until then, happy creating.