Monday, March 12, 2012

I have a camera again!!!!!

After an ill-fated Girl Guide journey to West Edmonton Mall, for the camera, not the Girl Guides, I once again have a camera. I have also seemed to have recovered from a creative slump and am once again back in the saddle of adaptive plagiarism.  I shouldn't short change myself, I did this out of the tickle trunk of my brain.


I had found these pretty little cloches at Homesense at Christmas and decided to bling them up. Using a paper flower tutorial from Pinterest (OMG! Addictive thing, now a part of my daily existence) that I found and pages from an old book, spray with a little log cabin Smooch Spritz and voila! I also added stamped images using Stampin' Up stamps, kraft seam binding, leaf ribbon from Papertrey Ink, vintage key from Tim Holtz and a key hole from Melissa Francis.

I tried to make it look appealing from the rear as well.


I am not very camera capable, so there is quite a bit of reflection in these pictures, it's hard to see the detail.  I took the cloche off to get a bit less reflection.


Have a pleasant and creative day!

Monday, January 9, 2012

Just for Fun

These little paper shoes are just for fun. They are a good way to use up a lot of the little bits and pieces that we all hoard in little jars and tins, or at least I do.

I think that they will be good to stuff with little gifts to give.


I used one of the crystal pendants from an old chandelier that was in my dining room at one time.
The top of the shoe is a little bright to see the detail well, but it gives you a better look at the vintage paper I used to make the shoe lining.


You can find the template for the shoes and inspiration at Chocolate Baroque.


Get inspired and have fun!

Sunday, January 8, 2012

Another New Year & Another Attempt

Well, the holidays are over, the tree is put away, the kids go back to school tomorrow and then everything can get back to normal.

I haven't posted anything FOR A VERY LONG TIME, so let's take another kick at the cat, shall we?

I had some fabulous neighbors across the street from me that moved to Qualicum Beach, B.C. during the summer. The husband (Dave) is an extremely creative person. I felt very privileged to have been given so many wonderful artful objects made by him, pieces of furniture and unfinished projects.

I felt extremely fortunate to have been given this wonderful old desk. He had refinished it himself and put a new top on it.  It is a little large and grand for my little house, but I love it's heavy warmth, with the emphasis on "heavy".


Now that this desk has become the place where I spend a majority of my time, I have been making a selection of cards to have on hand and hope to send out more. (Really, what is the point of making them, if I don't send them out?)


Here are a few that have made it to their new handy location.


The first two I give credit to creative gals from Splitcoaststampers.


Credit for this card is due to a card found here.


Credit for this one goes to the stamper found here.

Thank you ladies.

The third is a simple masculine thank you card.


 Thanks for looking.


Friday, March 18, 2011

Part of my daily routine.......

I LOVE BLOGLAND!

After getting the kids off to school, cleaning the kitchen up and putting away all the hat/mitten bins, it's time to make a coffee and sit my but down for my daily doses of inspiration.

It's very easy to get lost in some of these blogs with people's "favorite places" and linky parties, and it's a wonderful lost.

By the time I am done my coffee, I am inspired and can't wait to get through all the "must-dos" for the day and put some of this creativity into use. Whether it is making something new, organizing a part of the house or just arranging something to look pretty it's a small sense of accomplishment for me everyday.

I do have some of my favorite places listed, but I just wanted to add a few new ones.

I have had Lindy at Cottage Hill bookmarked only since February when I was looking for pretty pillows to be inspired to make, I ran on to her Master Bedroom Redo.  Check it out it's beautiful.


Another site that give's me goosebumps when I look it is The Horchow Collection.  Isn't this stuff absolutely sumptuous?


 One of the most beautiful stamping blogs that I have discovered hands down is Jeri Kay from A Touch of Grace. Jeri creates lovely paper flowers and uses them so elegantly.


Thanks to all you ladies who help me make my day inspiring and beautiful!

Thursday, March 17, 2011

Printer tray and a purse, but first.........


http://yatiechomeyl.blogspot.com/2011/03/lesson-learnt-from-japanese-people.html


I just love these printer trays from 7 Gypsies. They are such a cool way to display trinkets, treasures and photos. It's also a good way to use up some of the myriads of supplies under my stairs. It was nice to finally have a use for frames from my Stampin' Up hodge podge kits.


The stickpin and compass are from some of my father's keepsakes.  The buttons and key are from my Grandmother's button box. (My mini treasure trunk)

The next one I'm going to do is a sewing themed one.

On to the sewing portion.........

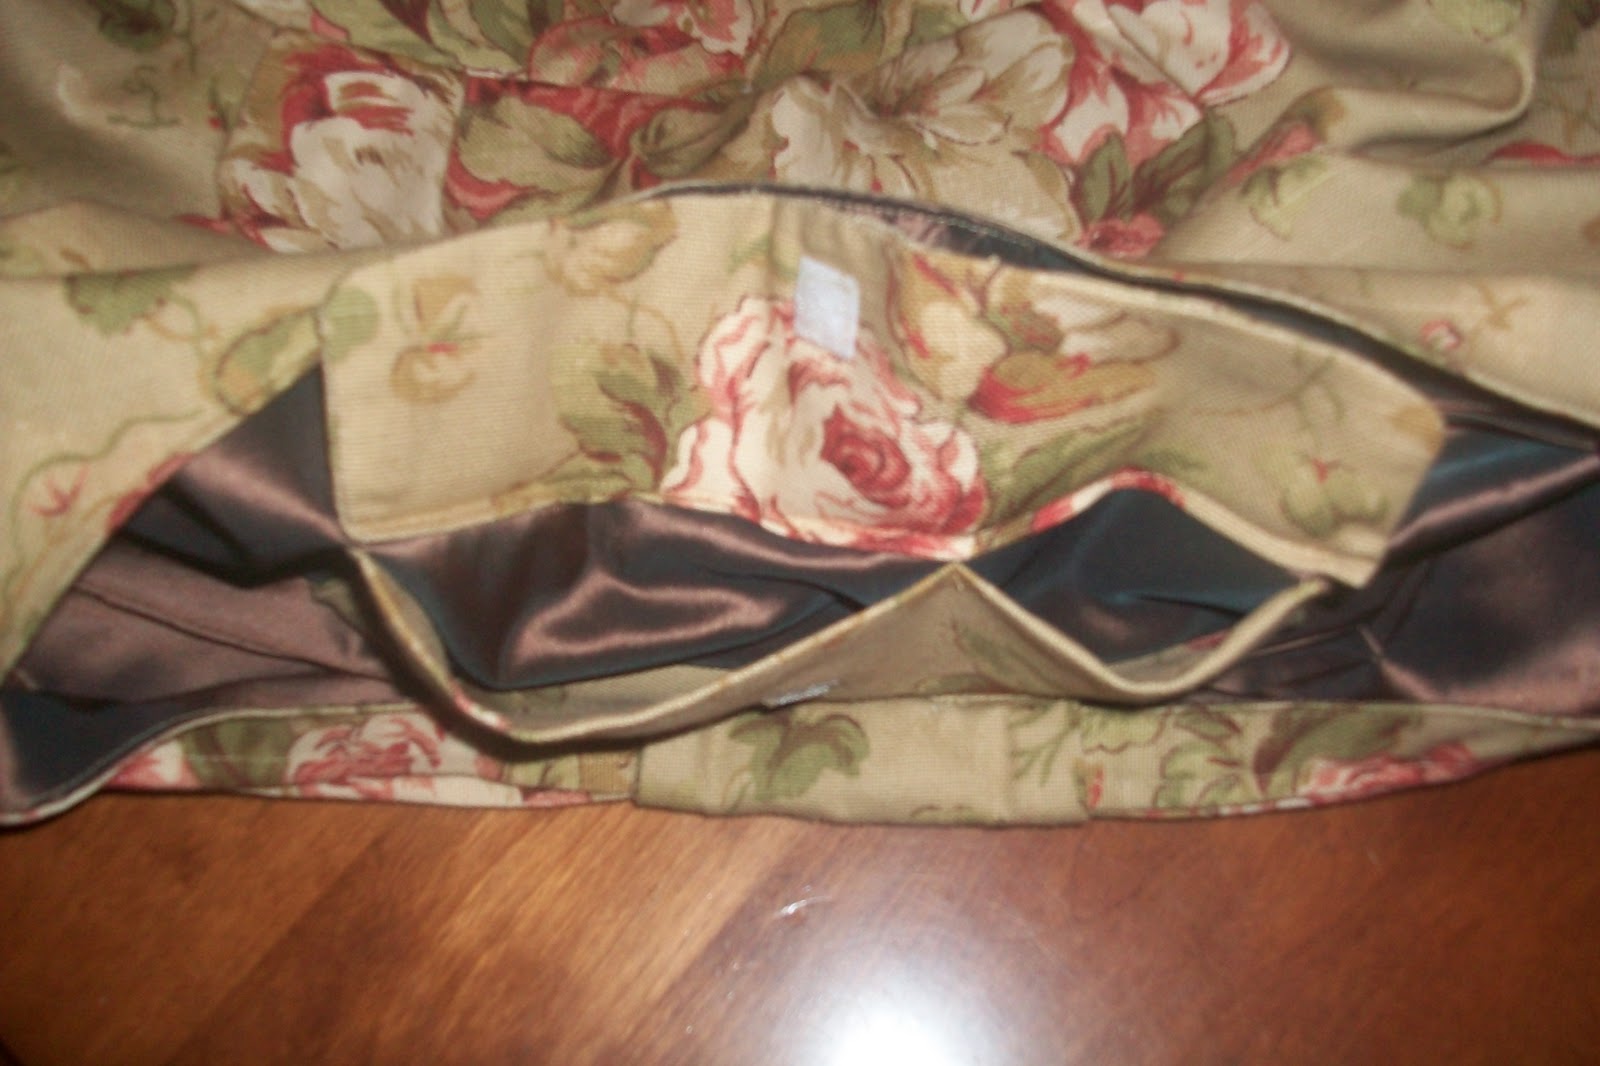
This is a Matilda bag made from a pattern from Indygo Junction. I made it for my trip next week. (Finally taking the kidlets to Disneyland). It goes with my cream raincoat (yep, it's supposed to rain) better than my black winter coat and snow that's for sure!

Do you recognize the fabric?


I have lined it with a brown taffeta. I bought it at a very good price (cheap, I'm so cheap) and so I got quite a bit. You will probably see a few projects made with this.

There are two inside pockets. One divided with a flap and a velcro closure.


One that is just a plain pocket.


I like the pleating at the bottom. (Kind of hard to see)


and the pleats on the handles

This purse is really easy to make. The more you make the easier and quicker they are.  This is the second one of this style I have made.  The first was for a women's event that my friend Erin held last fall. It was a donation to the door prize portion of the event. Maybe she'll let me make another one for this year.

I did make a few modifications. The pattern calls for the front and back to be in four pieces with a center seam, which is good if you want to use two contrasting fabrics. I did not want to break up the pattern so I cut the back and front on the fold resulting in only two pieces.

As good as my machine (the old doll) is on thick fabrics, it still wouldn't stitch through all the layers for the handle cover. So I ended up hand stitching the cover on.


I did use interfacing to stiffen the bottom up a bit, but I think the next one I make I will use a piece of foam core and have a solid bottom and see how I like it.  I would also like to try using a layer of fusible fleece in between the layers of fabric and give a bit more substance.


That's all for now.

Peace.

Wednesday, March 9, 2011

Bedroom Refresh and what I made with the leftovers........

I wish that I had taken a before pic of my bedroom. It was very blah, take my word for it. My windows are so weird. Wide, short and high on the wall, I had put curtains that I had made that went only to the top of the headboard ( it must have another name if it's made of metal) on my "Atomic Betty" bed. They went on a rod that went across the full width of the window. I wasn't sure what to do, and I probably still don't, but I liked this treatment a lot better.

I always wanted to incorporate blue into my room and thankfully the childhood mantra of "blue and green should never be seen" doesn't hold a lot of water anymore. That's good considering my walls are green.

I made drapes and put them on shorter rods with matching wooden hold backs. The drapes are a blue/green gold shimmery fabric, with a microfibre topper and, my favorite, moss fringe.


With the same fabric and fringe I made a rectangular pillow.


Using a tutorial I found at Mama Says Sew for folded fabric flowers I was able to make two roses pillows. This lady is so inspirational thanks sew much!


For two button pillows I used a mixture of vintage buttons from my grandmothers button box and a few Tim Holtz buttons. I should have sewn the buttons further to the side, they appear to be straining like someone wearing an ill-fitting blouse. I will be correcting at some point.


I made a coverlet out of a larger piece of the button pillow fabric and some heavy damask sewn together with strips of the light blue faux silk used on the rose pillows. The lace was expensive filet crochet that I only purchase enough to do the coverlet. Mostly all the fabric I buy is bargain, but sometimes I will splurge on trims.


The comforter, bedskirt, pillow shams and two center pillows were purchased at a very reduced price at Superstore. The colors in the set are what started the whole ball rolling. I will very likely be making a new duvet cover and shams soon.


The overall effect is a refreshing change from what it was. Someday maybe I will get some pretty new furniture.

After all the pillows and drapes that I have made for living room, dining room and bedroom, I had a lot of scraps! I needed to make something with them.

I have had this old flour sack quilt of my grandmothers for about 20 years now. I had a very plain sheer cover on it held in place with buttons from her button box. I decided it needed a new cover.


This quilt is so neat. It is over 80 years old and you can still see the labels on the sacks. It has held up amazingly well.


I was inspired by a quilt in this book.


So I made my own layout and started sewing.


I did not want to actually stitch on the quilt, so it is just placed inside. It's very weighty, I tacked it with embroidery thread at many junction points.

.......and this is what it looks like.


I do not have it covering my couch normally, that's just for the picture, it is just folded up and draped over the arm of the couch waiting for someone to cuddle up under.

Thank you Grandma Meyers!